SceneGraphNode
A SceneGraphNode is a transform, that can also add geometric information to the child hierarchy.
SceneGraph
Hidden
Turn off the visibility of the object for every kind of rays (camera, secondary bounces and shadows).
Primary Visibility
Turn on the visibility of the object for the camera. It has no effect on secondary bounces nor shadow rays.
Motion Blur
Turn on or off the motion blur for this object.
Resample Transform
Forces resampling of time matrices to help improve the quality of motion blur for fast rotating objects.
Cached
If checked, cache the primitive geometry in memory. Don't recompute it at each render. If the primitive cache file has changed, the primitive won't be updated until the Guerilla cache is cleared or Guerilla is relaunched. If unchecked, the primitive geometry is not cached in memory. The primitive geometry is regenerated at every render.
Geometry
Double Sided
Render both sides of the object.

Opposite
Flip the object surface sideness.
Tangent Mode
Choose a mode to compute the tangent space at render time. This tangent space is used to render the anisotropic reflections or the normal maps. Computing the tangent space consumes additionnal memory.
Disabled : The tangent space is not computed. A default but low quality tangent space is still available at rendertime.st1, st2.. : Use the texture coordinate channel as direction for the tangent space.Sphere : Project the tangent space on a sphere centered on the object.Cylinder : Project the tangent space on a vertical cylinder surronding the object.
Enable Ptex
Activates the Ptex coordinates. You need to turn this ON to use Ptex textures. The Ptex coordinates consumes additionnal memory.
Invert t
If true, invert the t texture parameter (known as v in some softwares).
Compression
Enable geometry compression This value globally enables/disables geometry compression. Note that enabling compression will usually reduce the geometry size by a factor up to 1.75, but will increase rendering time, and may introduce artefacts.
Bake Double Sided
When baking in point clouds, bake both sides of the object surface.
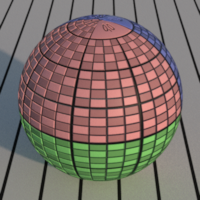
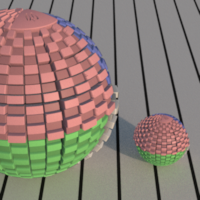
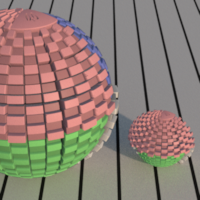
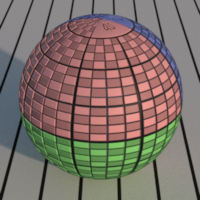
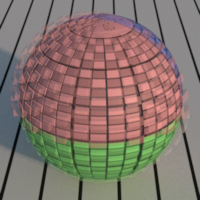
Subdivision
Any mesh in Guerilla can be subdivided. The mesh can be smooth or not using the CatmullClark subdivision algorithm.
The displacement is done on the subdivided geometry. Subdividing a mesh without smooth is useful to displace a non-smoothed mesh.
Subdivision Level
Subdivision level used in the ray tracer for this object.

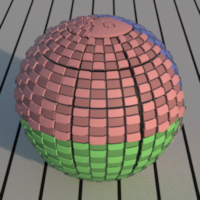
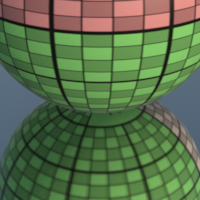
Smooth
Subdivide the shape using the Catmull-Clark subdivision model. If false, subdivide the mesh but don't move the vertices (for non-smoothed displaced objects).
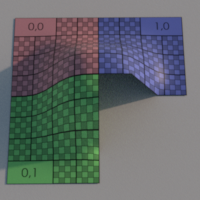
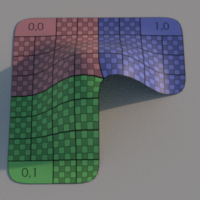
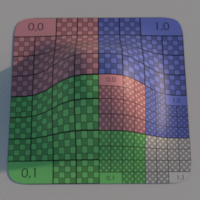
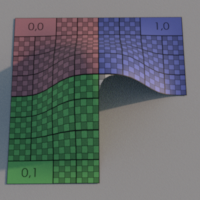
Boundary Rules
Control the subdivision of the shape boundaries.
Crease All : The boundaries are smoothed. The corners are kept.Crease All Maya : A maya Crease All compatibility mode. Same as Crease All, but the corners texture coordinates are smoothed (use Crease All if this mode does not produce the expected result.)Crease Edges : The boundaries and the corners are smoothed.Keep Borders : The boundaries are not smoothed.


Hard Edge Rules
Control the subdivision of the hard edges. The hard edges are available only in the Guerilla cache files, not in Alembic or other formats.
Smooth : The hard edges are ignored.Crease : The hard edges are smoothed like boundaries.Hard : The hard edges are not smoothed.
Smooth ST
Subdivide the texture coordinates using the Catmull-Clark subdivision model (if Smooth is enabled).
Keep Map Borders
Don't smooth the texture coordinate borders which are inside the mesh.

Compute Normals
If true, compute the normals after the smooth. If false, smooth the original normals. If you are smoothing a model including specific normals (like SpeedTree branches), turn this off.
Raytracing
Trace Bias
Bias of the tracing rays shot from this object.
Max Bounces
Maximum ray depth to which this object is traced. Beyond that depth, the object is invisible to rays. When rendering scenes with large number of objects, you can reduce this value for certain objects (typically crowds) to reduce the memory load.
Terminator
Correct the shadow terminator artefacts. 0 for no correction, 1 for full correction.

Surface
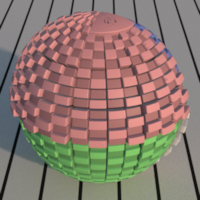
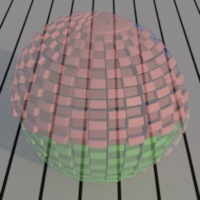
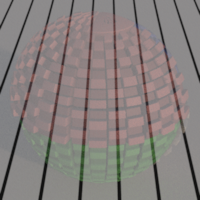
Opacity Mode
Indicate if the object must be shaded for opacity or not.
Exact (true): The opacity is fully computed. It is the slowest method.Opaque Shadow (false): The opacity is opaque in shadows. This is the default value.Constant (2): The opacity is constant on the object.Vertex (3): The opacity is computed at every vertices and interpolated.V (4): Only for thecurves primitives. The opacity is computed along the v parameter. The number of steps used to subdivide the v parameter is given by theOpacity Bake Resolution attribute.ST (5): Only for thesurface primitives. The opacity is computed along the st parameters. The number of steps used to subdivide the s and t parameters is given by theOpacity Bake Resolution attribute.
Opacity Bake Resolution
Resolution in use to bake the opacity in Opacity Mode V or ST.
Exit Color
The color used to replace indirect illumination when hitting the bounce limit.
Surface
The shader used to render the object surface.
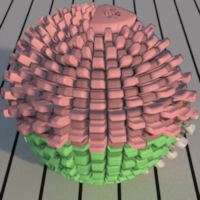
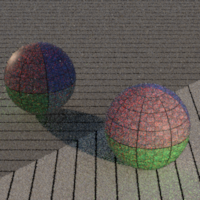
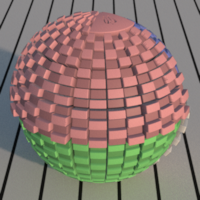
Displacement
Displacement Mode
Enable the geometry displacement for this object.
Bump : the displacement shader is used as bump, pixel wise, during the shading. No displacement is applied to the geometry.Displacement : the displacement shader is applied on the subdivided geometry.Displacement+Bump : the displacement shader is applied on the subdivided geometry and is also used as bump, pixel wise, during the shading.
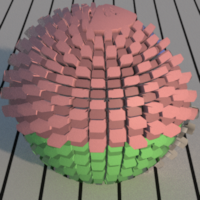
Displacement Amount
Control how much the object is displaced.
Displacement System
Choose in which space the displacement is expressed.
Object : The displacement is expressed in object space. The object aspect is independent from its scale. The object instances stay instanciated.World : The displacement is expressed in world space. Warning, the object instances will be duplicated and will take more memory.
Displacement
The shader used to displace the object surface.
Volume
Uniform Volume
If enabled, the volume is supposed to have a uniform density. If disabled, the volume is a varying-density volume. In that case, ray marching (multiple density evaluations along the ray) will be used to compute the density. Ray marching slows down the renders. You need to disable this attribute if you want to render volumes with varying-density. A varying-density is needed in those cases : voxels primtives (smoke, explosions), ground fog, noisy density.
Ray Marching Step Size
This is the step size used for computing the density. Ignored for uniform volumes. The size is expressed in world space. If the StepSize is 0, "Max Steps" is used for every ray marching query. The smaller the step size is, the better the quality is, the slower the render is. For voxels, a conservative size is the half of a single voxel.
Ray Marching Max Steps
This is the maximum step count allowed for computing the density. Ignored for uniform volumes. Infinite varying-density volumes may compute a very large number of ray marching steps. This parameter is here to limit this figure. If Step Size is 0, the ray marcher will use this number of steps for every ray. In this case, for voxels, a conservative step count could be the double of the average voxel axis resolutions.
Volume
The shader used to render the object volume.
Motion Blur Amount
The voxel velocity multiplier. Multiply the amount of motion blur.
Shading
You will find here some attributes to optimize the shading.
Texture Approximation
Controls if the texture lookups should be approximated, either never, after diffuse bounces, after diffuse or glossy bounces, or always.
Never : no approximation. This one is slow and memory consumingDiffuse : approximation for the diffuse raysGlossy (default) : approximation for the diffuse and glossy raysSpecular : approximation for the diffuse, glossy and specular raysAlways : The texture lookups are always approximated


Texture Max Size
Controls the maximum size of loaded texture mipmaps
Skip Ray Depth
Skip some ray types when computing the ray depth. If set to
None : skip no rays. The GI will be darker and the SSS will be approximated in the specular and the glossy surfaces. This one is faster.Specular (default) : skip the specular rays. The GI will be darker and the SSS will be approximated in the glossy surfacesGlossy : skip the specular and the glossy rays. The GI and the SSS seen through reflections will be like in the camera. This one is slower.

MultiScattering Approximation
Enable multiscattering approximation, such as dual scattering for Hair shaders.
MultiScattering Max Hits
Limits the maximum number of detected occlusion/hits when using multiscattering approximation. Reducing this value can reduce the rendering time, but decreasing too much can result in altered lighting.
Animation
Using these attributes, one can retime the bake files for any object in the scene.
Animation Mode
The cache retimer loop mode.
Normal : read the cache at frame+OffsetClamp : read the cache at frame+Offset clamped betweenStart andEnd Loop : read the cache at frame+Offset looped betweenStart andEnd Ping Pong : read the cache at frame+Offset looped in pingpong betweenStart andEnd
Animation Start
The starting frame in the cache file.
Animation End
The ending frame in the cache file.
Animation Offset
The offset to apply to the Guerilla current frame to get the cache frame.
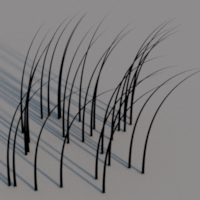
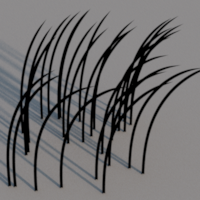
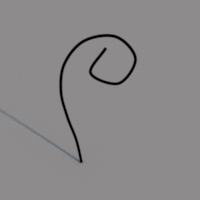
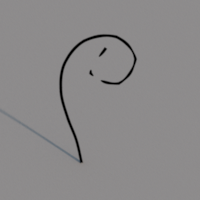
Curve
The following attributes control the curves shape.
Root Width
Width multiplier at the root of curves.
Tip Width
Width multiplier at the tip of curves.
Width Shape
Interpolation shape of the curve width from the root to the tip.
Curve Error
Error used to subdivide the curves in the ray tracer. Small values means nicer curves rendering slower, bigger values means coarser curves rendering faster.
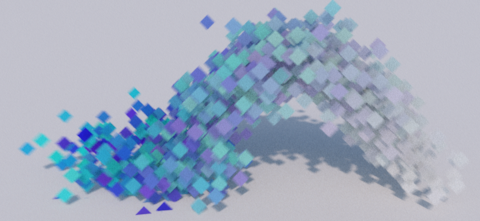
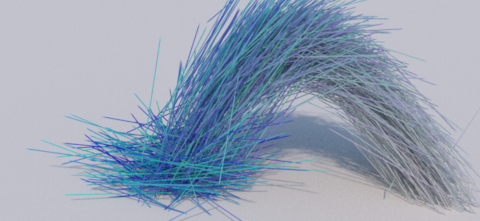
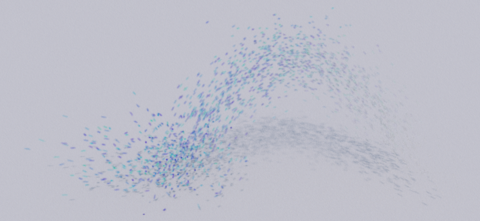
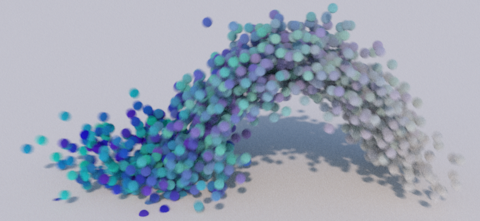
Particles
Mode
Display mode used to render the particles.
None : no particle rendered.Points : points are sphere objects with a constant projected size on the final image.Sprites : renders the particles as a billboard facing the camera.Streaks : streaks are speed lines with a constant projected size on the final image.Blobby : renders the particles as an implicit surface using the spheres as function.Spheres : renders the particles as spheres.
Multi Radius
Maximum distance a multiplied particle can go around the original particle.
Multi Count
Multiplier of the number of particle.
Sprite Scale X Y
The sprite scale on the X/Y axis.

Sprite Scale Y
The sprite scale on the Y axis.
Sprite Twist
The sprite twist angle in degrees.
Streak Tail Size
The particle speed multiplier to get the streak length.

Streak Line Width
The streak width in raster space.

Point Size
The diameter of the points in raster space.
Sphere Radius
The sphere radius multiplier.
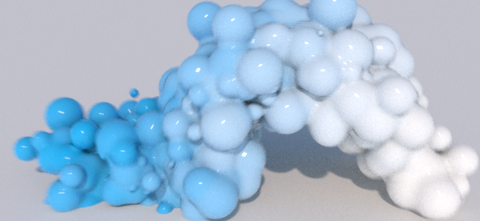
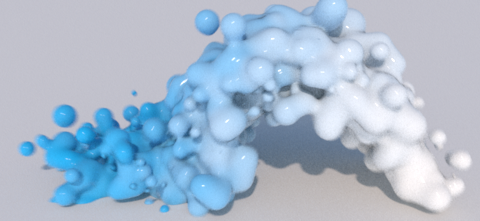
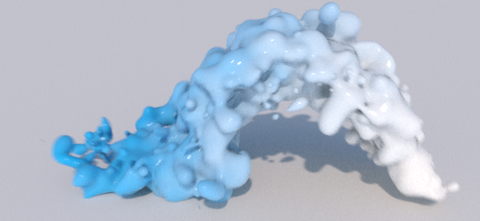
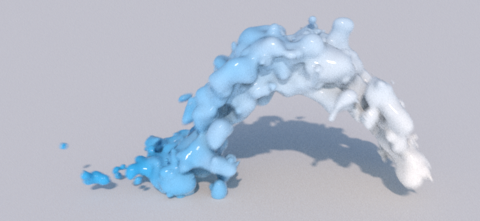
Blobby Threshold
The blobby surface threshold.
Blobby Resolution
The size in local space of the grid used to triangulate the blobby.
Sampling
Range
The range of the samples that will sample this object. You can use this range to make an object disapear like if it was on a 2D layer. You can also blend two objects seamlessly (like level of detail meshes) using two complementary ranges.


Light
On
Enable/disable the light.
Type
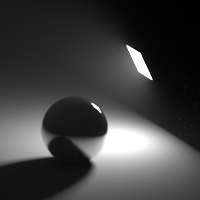
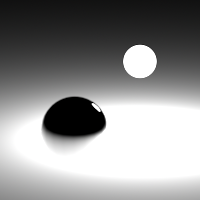
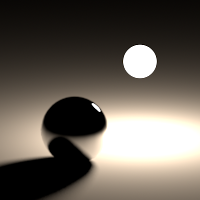
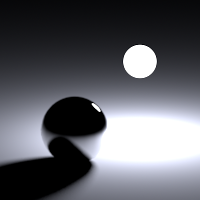
The shape of the light. This defines the shape of the positional light.
- Point: the light is single point, and casts sharp shadows.
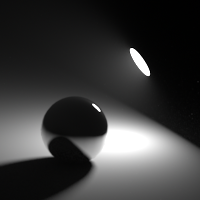
- Square: the light is a square/rectangle.
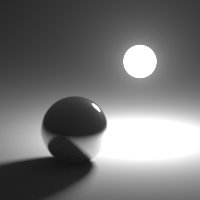
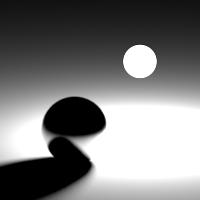
- Disc: the light is a circle/ellipse.
- Sphere: the light is a sphere.
Category
The light category this light belong to. The categories can be specified in every RenderPass AOVs to select the visible lights in those AOVs.
Light Set
The sets of objects the light illuminates. The objects that belong to any of these sets are illuminated by the light. This attribute is a comma separated list of object sets.

Shadow Set
The set of objects that cast shadows in the light. The objects that belong to any of these sets cast shadows in the light. This attribute is a comma separated list of object sets.
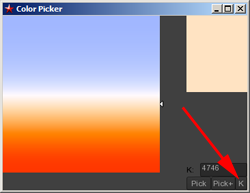
Color
The light color.
You can select a temperature for your light color using the K button in the color picker.
Dynamic Attributes > Diffuse
Multiply the light color by this color for the diffuse BRDF.
Dynamic Attributes > Specular
Multiply the light color by this color for the specular BRDF.
Shadow Id
The color the shadows for this light in the ShadowMask pass.
Size
The light size. Only for the Square, Disc and Sphere lights.
Intensity
Linear control of the light brightness.
The total intensity of the light is computed using the formula:
Exponent
Exponential control of the light brightness.
The total intensity of the light is computed using the formula:
Primary Use Surface
When enabled, area lights use the surface shader for rendering the primary visibility
Absolute
Control if the global intensity of the light is normalized by the light size. If enabled, the size of the light can be changed freely without modifying its overall brightness.
Cast Shadows
Enable/disable the light geometry to cast shadows.
When using Square, Disc, Sphere and Mesh lights, it is possible to control if the light
as a geometry will cast shadows in other lights/environments.
Separate Sampling
When active, the light is sampled independently from other lights, resulting in more predictible results at the cost of longer rendering times.
UsePortals
This value controls if the light can be clipped by portals.
Decay
Control the attenuation with the distance of the light intensity.
The attenuation is computed using the formula:
Ray Length
The length to which the light illuminates. Beyond that distance, objects won't cast shadows. Only for distant lights.
Angle
The angular size of the light, in degrees. Increasing this value will cast softer shadows and make the light brighter, unless Absolute is enabled. Only for distant lights.
Threshold
Clamp the light energy to this value. Increasing this value may reduce the render time. Increase this attribute if your project includes lot of lights.
Light Map
The light illumination map.
Gamma
The illumination map gamma correction.
Hue
The illumination map hue correction.
Saturation
The illumination map saturation correction.